Perlin Noise Terrain with Geometry Shaders
In this post, I will explain how I implemented a terrain using Perlin noise and geometry shaders for the third assignment of CENG 469 course.
Geometry Shaders
A geometry shader runs after the vertex shader but prior to the fragment shader. More specifically, its place in the render pipeline is as follows:
- Vertex Shader
- Tesellation
- Geometry Shader
- Rasterization
- Fragment Shader
Unlike the vertex shader, a geometry shader operates on primitives, which can be lines or triangles. Furthermore, it doesn’t have to output as many primitives as it receives; it can output any amount of primitives between zero (useful for implementing level of detail) and a hardware-defined limit. The input and output primitives don’t need to be the same either. Geometry shader can receive points and output triangles, for example.
Using geometry shaders in OpenGL is easy; you just create and attach this shader like a vertex or fragment shader before linking your shader program.
In my code, I created a shader class for this purpose.
While reading a shader from disk, it checks whether {name}.geom file is available for the given shader name.
If it exists, the geometry shader is added to the shader program.
Terrain Rendering
The terrain is rendered as follows:
- Create a grid of points in the vertex shader.
- Convert each point into a quad in the geometry shader.
- Here, the height of each vertex of the quad is computed alongside the normals.
- The height information is passed to fragment shader.
- Fragment shader determines the color based on the height, and does lighting computations as usual.
In this pipeline, the geometry shader is utilized to create the triangles that form the terrain on the GPU. Perlin noise is utilized to determine the height and normal of each vertex.
Perlin Noise
Ken Perlin devised this algorithm in order to introduce some imperfections to computer-generated imagery. A perfectly flat surface with a single color is only possible in the virtual world. In real-life, almost all objects we observe exhibit variations in their shape and color, however small. These variations give each material its own characteristic. Decay and limitations of our perceptions further contribute to the randomness we see in real objects.
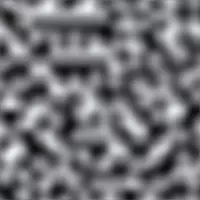
The most simple way to create randomness in computer graphics is to assign each pixel of an image to a random value. However, this leads to very unnatural results.
![]()
Perlin noise overcomes this limitation. A noise pattern generated by Perlin noise is much more smooth, and thanks to the hash function we will see, it can yield deterministic results. This is important because the terrain should not change every time we calculate it (which will be done every frame in geometry shaders). Furthermore, this algorithm is not computationally expensive.
Calculation
Computing the Perlin noise is not difficult, but it might seem complex at first. In my experience, studying it step-by-step is the best way to wrap your head around it.
The first step is to divide the 2D space into a grid. The density of this grid will determine the scale of the noise. Larger grid cells will lead to smoother noise.
After that, a 2D vector is assigned to each point in the grid. This vector will be called gradient.
In order to get the same gradient in each call to a function, we use a hash function.
The basic premise is that we have a constant array of gradients, and another constant array of integers, containing the randomized indices from the first array.
Given an integer i, we can get the corresponding gradient index for it using abs(i) % N where N is the number of elements in the second array.
When more than one integer is given, as in the case of 2D Perlin noise, we can hash it repetitively.
Overall, our gradient function looks like this:
vec2 gradient(int x, int y) {
	return gradients[permuted[abs(y + permuted[abs(x) % 16]) % 16]];
}
where gradients is the array of 2D vectors and permuted is the array of indices.
Next, we determine the vectors from each point to the current point at which we will sample the noise. Let us call the gradients at each corner \(G_{aa}\), \(G_{ab}\), \(G_{ba}\), and \(G_{bb}\). Similarly, the vectors from grid point to the current point will be denoted as \(V_{aa}\) to \(V_{bb}\).
We associate a scalar value \(s_{i}\) for each corner that is defined as the dot product of \(G_{i}\) and \(V_{i}\) for all \(i \in \{aa,ab,ba,bb\}\)
\[s_{aa} = G_{aa} \cdot V_{aa} \\ s_{ab} = G_{ab} \cdot V_{ab} \\ s_{ba} = G_{ba} \cdot V_{ba} \\ s_{bb} = G_{bb} \cdot V_{bb} \\\]In order to mix these scalars, we will use the mix function available in GLSL:
Note that this function interpolates linearly. To achieve a more natural look, we need to use an easing function. In Perlin noise, this easing function is \(6 t^5 - 15 t^4 + 10 t^3\). We define the mixing factors \(u\) and \(v\) accordingly:
\[u = 6 x_f^5 - 15 x_f^4 + 10 x_f^3 \\ v = 6 y_f^5 - 15 y_f^4 + 10 y_f^3 \\\]where \(x_f\) and \(y_f\) denote the location of the sampled point in the grid cell.
Finally, in order to compute the value of Perlin noise, we mix these values along \(x\):
\[s_{xa} = mix(s_{aa}, s_{ba}, u) \\ s_{xb} = mix(s_{ab}, s_{bb}, u) \\\]and then \(y\):
\[s = mix(s_{xa}, s_{xb}, v)\]With this, we can finally use Perlin noise in our application.
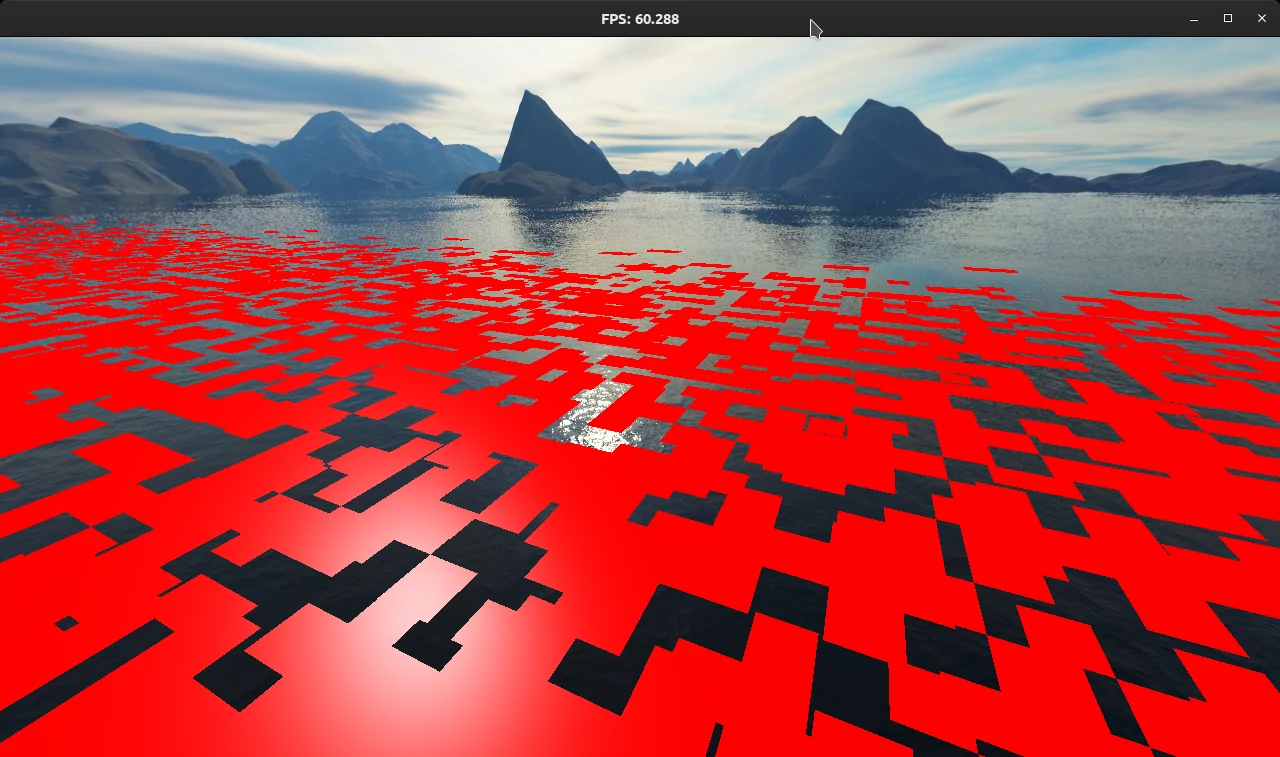
While integrating the Perlin noise into the terrain, I first moved each quad according to height instead of moving each vertex individually. This is not the correct way to render a smooth terrain, but it led to some cool visuals:
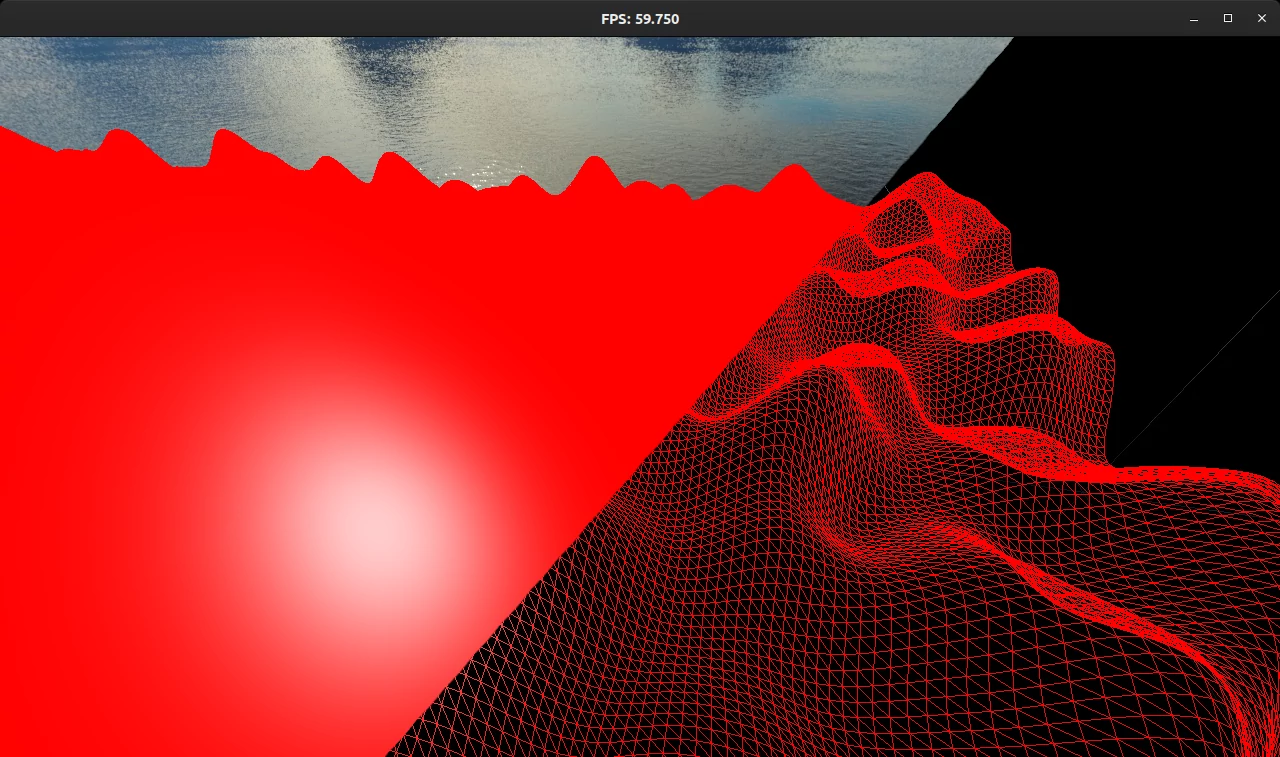
After updating the heights, I got the silhouette of the terrain correctly, but all normals were still the up vector. Therefore, the shading was wrong:
To compute the normal vectors, we need to find two vectors along the surface near the given point and take their cross product. Note that cross product of 2 vectors yields a vector perpendicular to both operands. We can use this approach to find the normal of each triangle easily:
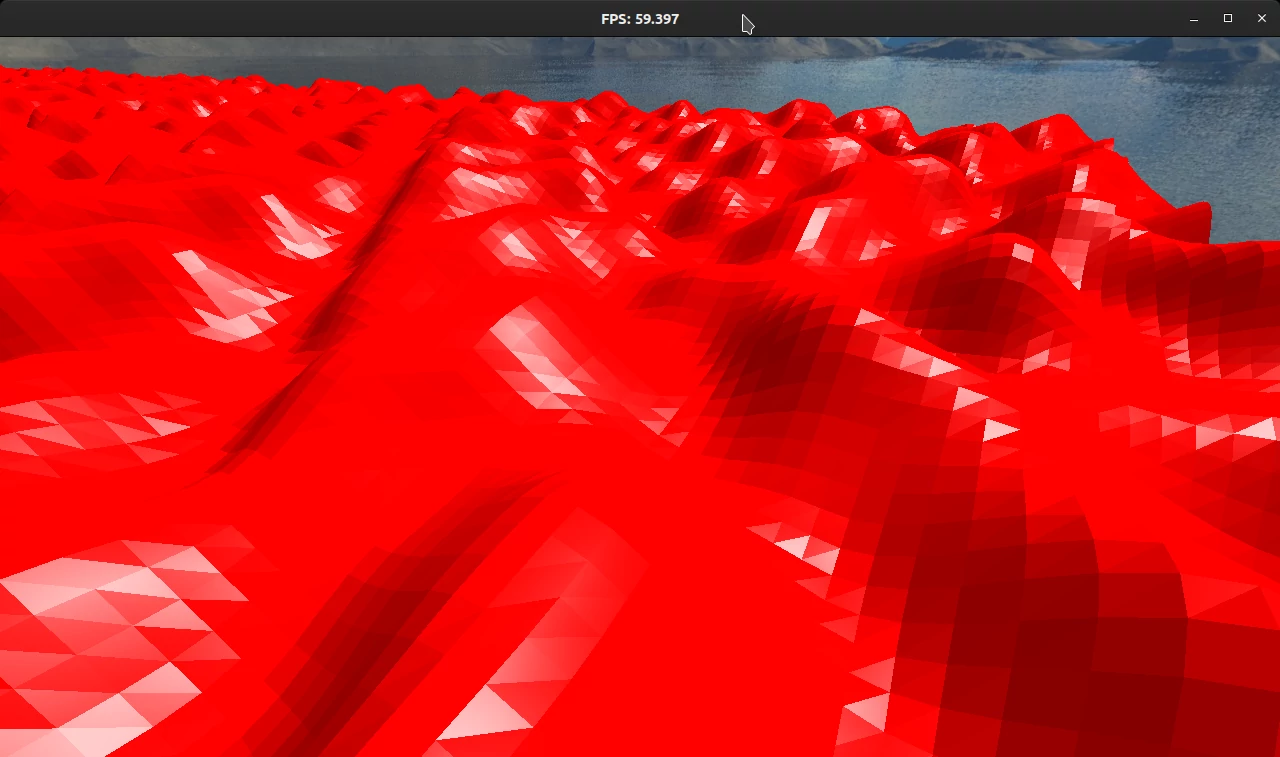
However, in order to find the normals per vertex, we need the derivative of the Perlin noise. The derivative can be used to determine the aforementioned 2 vectors along the surface for each vertex.
Derivative
The easy way to do this is to approximate it with a numerical derivative. Simply evaluate the Perlin noise at both \((x + d, y)\) and \((x, y + d)\) for a sufficiently small \(d\), and figure out the slope. However, this is much more computationally expensive compared to an analytical derivative.
To figure out the analytical derivative, we first find the derivative of \(mix(a,b,t)\) w.r.t \(t\):
\[\frac{dmix(a,b,t)}{dt} = -a + b\]Let’s take the derivative of Perlin noise with respect to \(x\):
\[\frac{ds}{dx} = mix(\frac{ds_{xa}}{dx}, \frac{ds_{xb}}{dx}, v) \\ \frac{ds_{xa}}{dx} = mix(\frac{ds_{aa}}{dx}, \frac{ds_{ba}}{dx}, u) + \frac{du}{dx} (s_{ba} - s_{aa}) \\ \frac{ds_{xb}}{dx} = mix(\frac{ds_{ab}}{dx}, \frac{ds_{bb}}{dx}, u) + \frac{du}{dx} (s_{bb} - s_{ab}) \\\]Note that the equation of \(v\) does not involve \(x\) at all, so it’s treated like a constant. We have many \(\frac{ds_{i}}{dx}\) terms here. But fortunately they are easy to calculate:
\[s_{i} = G_{i} \cdot V_{i} \\ s_{i} = G_{i}^x \cdot V_{i}^x + G_{i}^y \cdot V_{i}^y \\ \frac{ds_{i}}{dx} = G_i^x\]This follows from the fact that \(V_{i}^x\) is either \(x_f\) or \(x_f - 1\) where \(x_f\) is the position of the sampled point in the current grid cell. Derivative of \(s_{i}\) with respect to \(y\) is similar.
Next, we take the derivative of Perlin noise with respect to \(y\). This time, we treat \(u\) like a constant:
\[\frac{ds}{dy} = mix(\frac{ds_{xa}}{dy}, \frac{ds_{xb}}{dy}, v) + \frac{dv}{dy} (s_{xb} - s_{xa}) \\ \frac{ds_{xa}}{dy} = mix(\frac{ds_{aa}}{dy}, \frac{ds_{ba}}{dy}, u) \\ \frac{ds_{xb}}{dy} = mix(\frac{ds_{ab}}{dy}, \frac{ds_{bb}}{dy}, u) \\\]The derivatives of \(u\) and \(v\) are trivial, since they are just polynomials.
With the derivative of the Perlin function, we can now compute the normals for each vertex as explained previously:
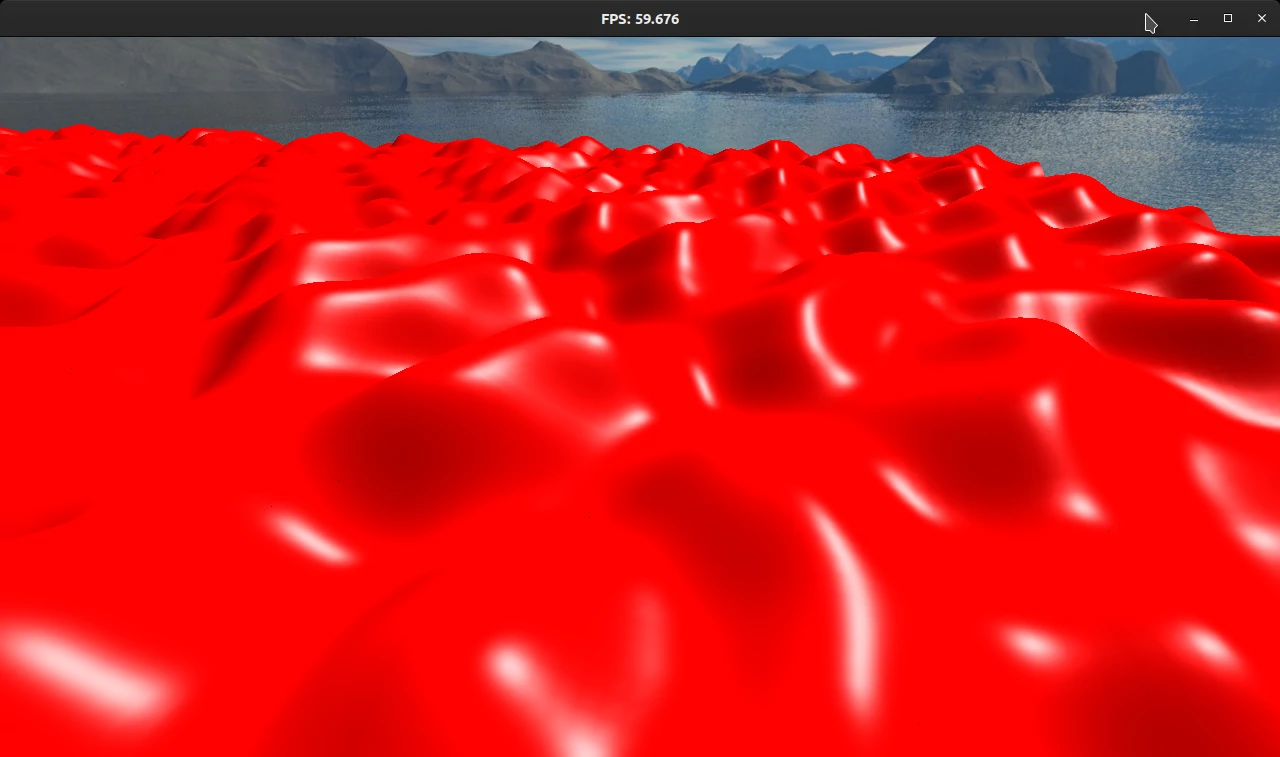
Furthermore, we can use this information to create the TBN (Tangent, Bitangent, Normal) matrix, which defines the tangent space for each vertex. This matrix is utilized while applying normal maps.
Sharing Code between GLSL and C++
I implemented the Perlin noise in GLSL as explained in the previous section. However, I needed to access this function from the C++ code as well because it was required to compute the movement of camera. To this end, I came up with a flexible solution so that I don’t have to update both implementations each time I make an adjustment.
First, in GLSL shader, I moved the Perlin implementation into another file, and put #include "perlin.glsl" line into the shaders in which Perlin is used.
After that, I updated the C++ program to paste the contents of the included file While reading a shader file from disk.
Essentially, I implemented the basic function of the C preprocessor for my shader code.
In order to use this GLSL code from C++, I created a header file and wrote this:
namespace glsl {
	using namespace glm;

#include "shaders/perlin.glsl"

}
All built-in functions in GLSL are also implemented in GLM library, albeit in glm namespace to avoid name clashes.
With using namespace glm;, the code pasted from a GLSL shader can be compiled in C++ without any modifications.
By creating a namespace for the functions imported from GLSL, we can limit the scope of using namespace glm; and organize the imported functions.
I’m quite happy with this solution since it allows me to share code between C++ and GLSL. However, it might have some pitfalls which might arise in a more complex and larger project.
Doing what I want
I realized that this base code allows for many creative opportunities, so I decided to do what I want.
NOTE: The features implemented after this point are not enabled by default since they don’t comply with the homework specifications.
You need to modify config.h and run make clean && make if you want to activate them.
Horses
I decided to add the horse from the previous homework. Since the terrain is based on the Perlin noise and its code is shared between GLSL and C++, it makes it easy to sample the current height and orientation of the terrain.
Of course I didn’t get it right at first try:
But I could fix it later, now the player can ride the horse:
The Perlin noise terrain allows many complex features to be implemented easily. For example, creating an infinite world is as easy as centering the terrain at the location of the player. Here, the size of the terrain is reduced heavily to emphasize this:
Sand & Grass
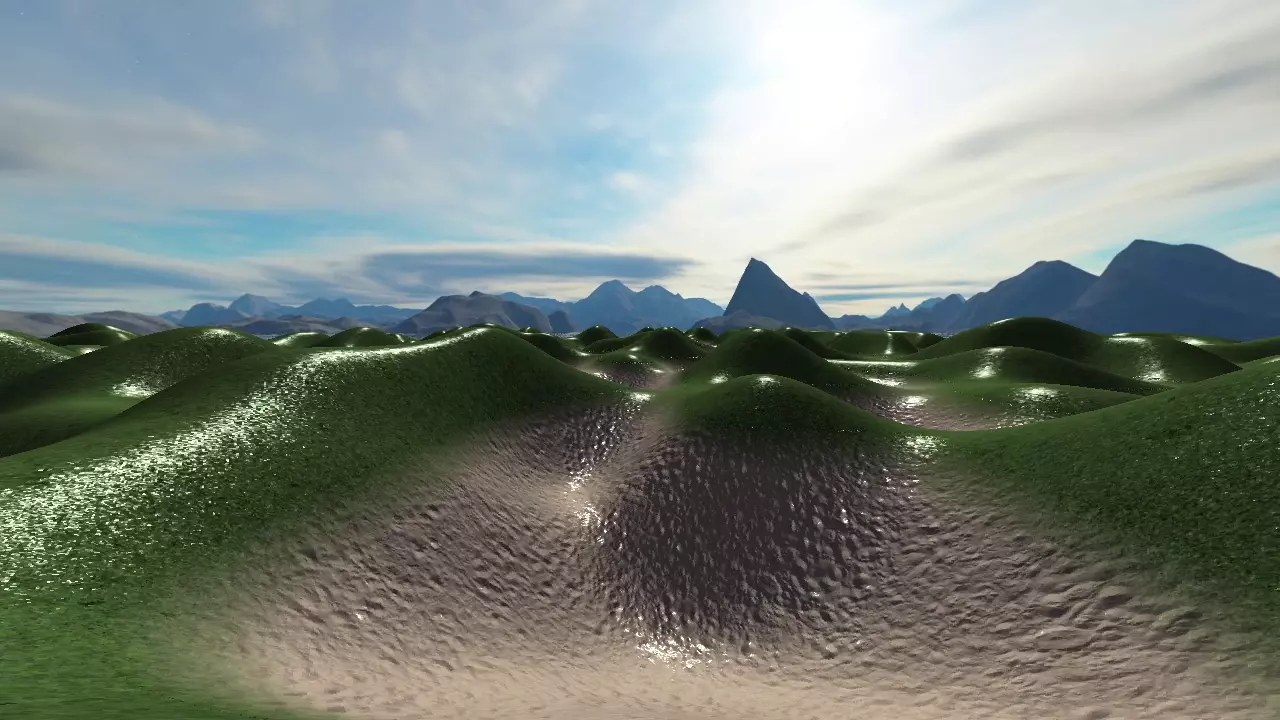
It’s easy to integrate normal maps into the terrain because we already have 3 vectors required to construct the TBN matrix. Moreover, we can easily switch between two textures based on the height since we supply this information to the fragment shader.
Water
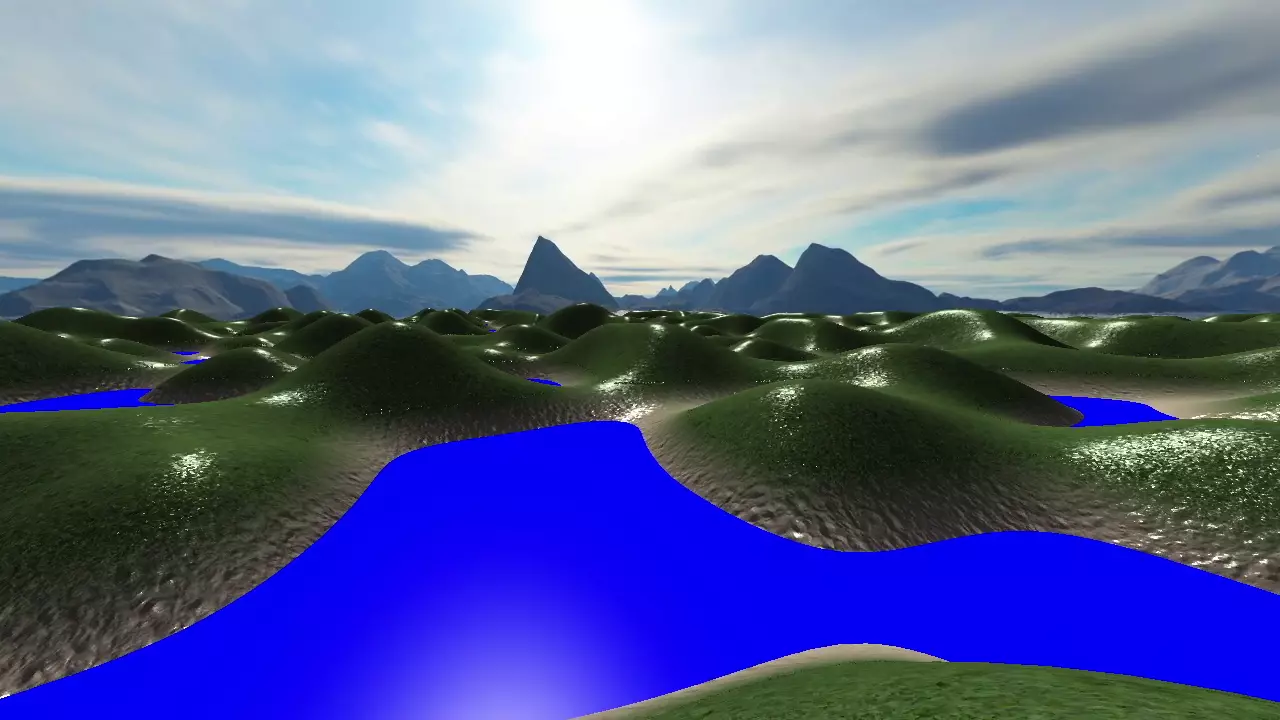
To add water, I experimented with setting a minimum level to the terrain height, but this led to ugly results due to interpolation in the fragment shader. Therefore, to create water I added another terrain mesh with constant height and a different material (fragment shader):
Next, I added a texture to the water and mixed its color with red to achieve a ominous bloodbath look in my scene:
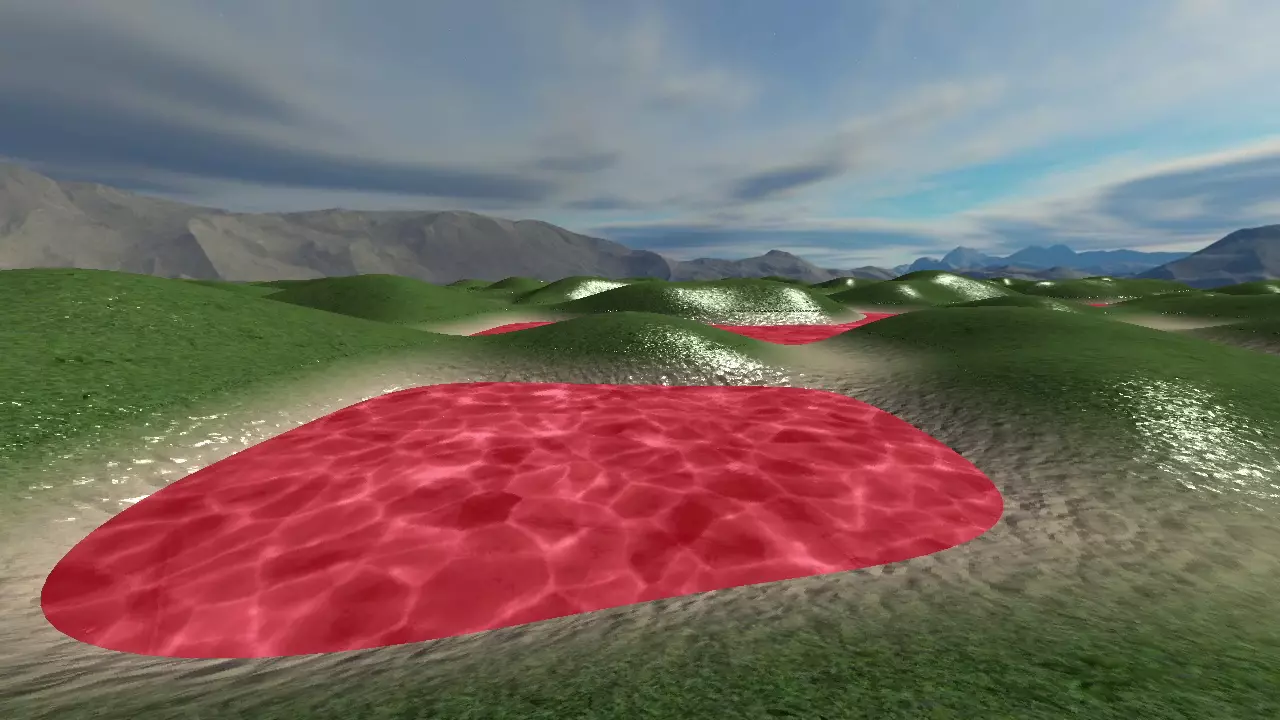
I mixed the Blinn-Phong shading and sky reflections to create a more realistic water. I also decreased the opacity.
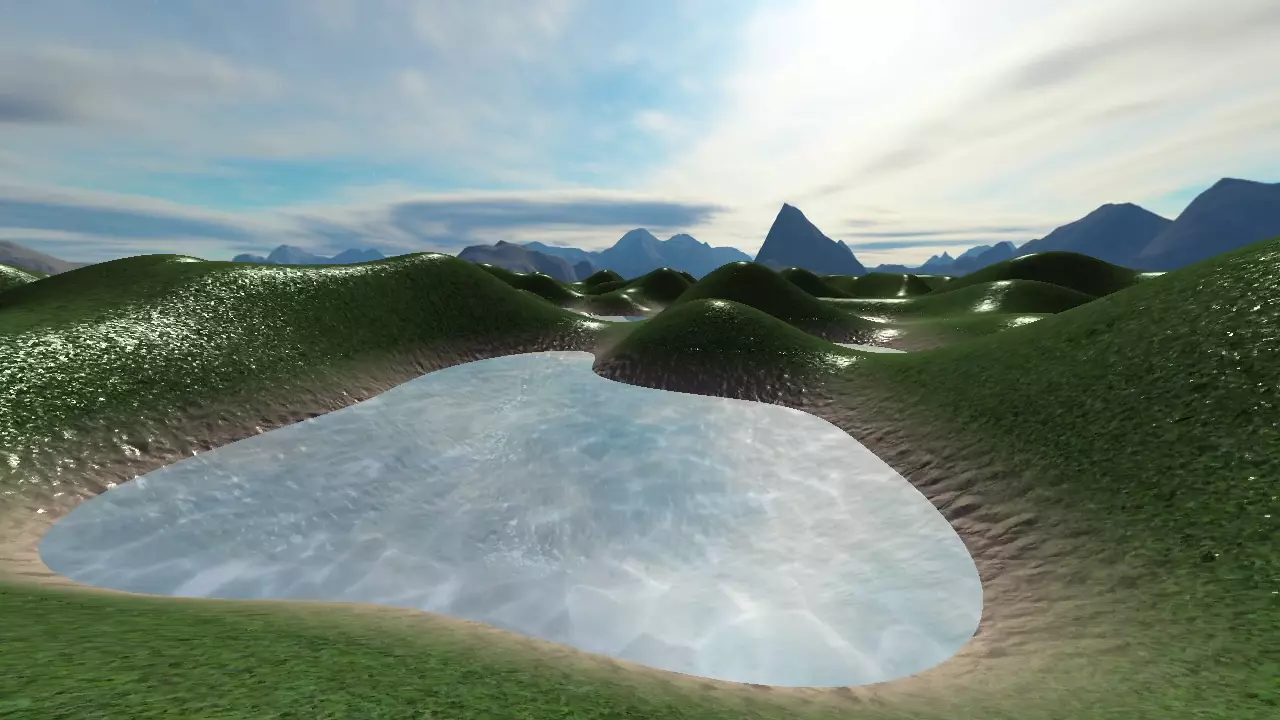
If you want to access the skybox texture from a shader other than the sky shader (as I did in the previous picture), you need to make sure that texture slot of skybox doesn’t clash with any other texture you are using.
When using a single cubemap texture in a shader, OpenGL will use the last cubemap texture even if you bind some other texture to that slot. This confused me a lot because my shader wouldn’t work and just output nothing silently without any error when I introduce the other texture to the shader.
Throwing Teapots
Explosion effect is one of the easiest and coolest effects you can achieve with geometry shaders: just move each triangle in the direction of its normal with an explosion amount. Therefore, I added the ability to throw Utah teapots when spacebar is pressed:
You can shoot horses in this way:
Unfortunately I didn’t have enough time to completely implement a proper gameplay. There’s no goal, no way to win or lose, etc. But the essential components of a video game is there. Hence, I’m calling this game Mount and Teapot. It will be the next quadruple-A production title.
Thanks for reading.